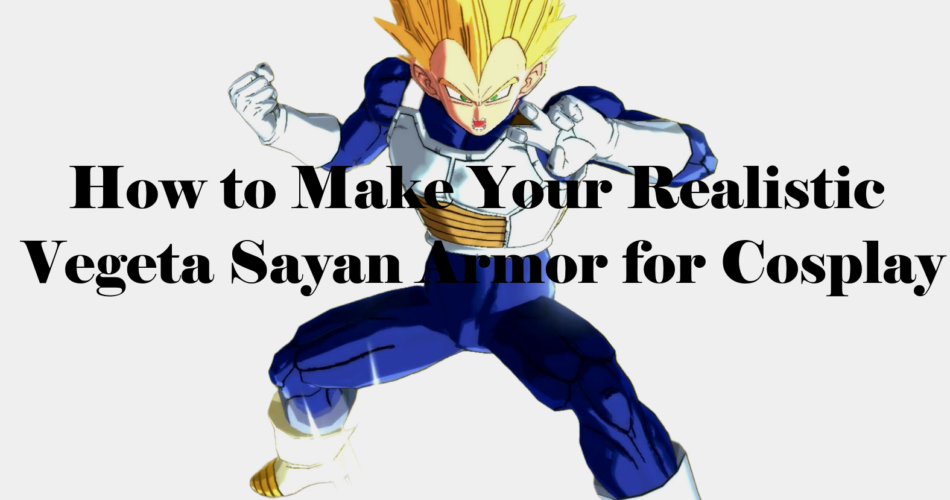
Vegeta’s iconic Sayan armor is well-known to any fan of the Dragon Ball franchise. Even if you aren’t a hardcore anime or video game fan, you have probably seen images of Vegeta wearing this armor in action. If you love cosplaying and want to recreate this look for your next convention, then you can make your own Vegeta Sayan Armor for cosplay. You can also use it as an accessory for other characters in your cosplay wardrobe.
Table of Contents
Materials to Make Your Own Vegeta Sayan Armor for Cosplay
Download the pattern ( download )
HD-Foam 6,10mm – http://bit.ly/2NECyrU
HD-Foam Dowels – http://bit.ly/375zTPs
Foam Clay – http://bit.ly/2uR9pD5
Dap Weldwood Contact Cement – https://bit.ly/3lPU4ci
Heat Gun – https://bit.ly/3aBioIQ
Respirator – https://amzn.to/2S8CrEC
Utility Knife – https://bit.ly/3bAbq6M
Bob Smith Super Glue 2oz – https://amzn.to/2r3LbzW
Heavy Body Acrylics – http://bit.ly/2Sce8HK
Mars Black – http://bit.ly/2S9d8UE
Golden Iridescent Bronze – https://bit.ly/3tToTQd
Iridescent Rich Silver – http://bit.ly/2uWBZTI
Raw Sienna – http://bit.ly/36QYve4
Cadmium Free Red Medium – http://bit.ly/2RSGV4X
Plasti Dip – https://amzn.to/322CVmz
Take your measurements and cut the materials:
Front part
Print the pattern and cut all the pieces from the respective foam.In the pattern are already the type of foam to use.All the cuts must be at 90 degree angle.
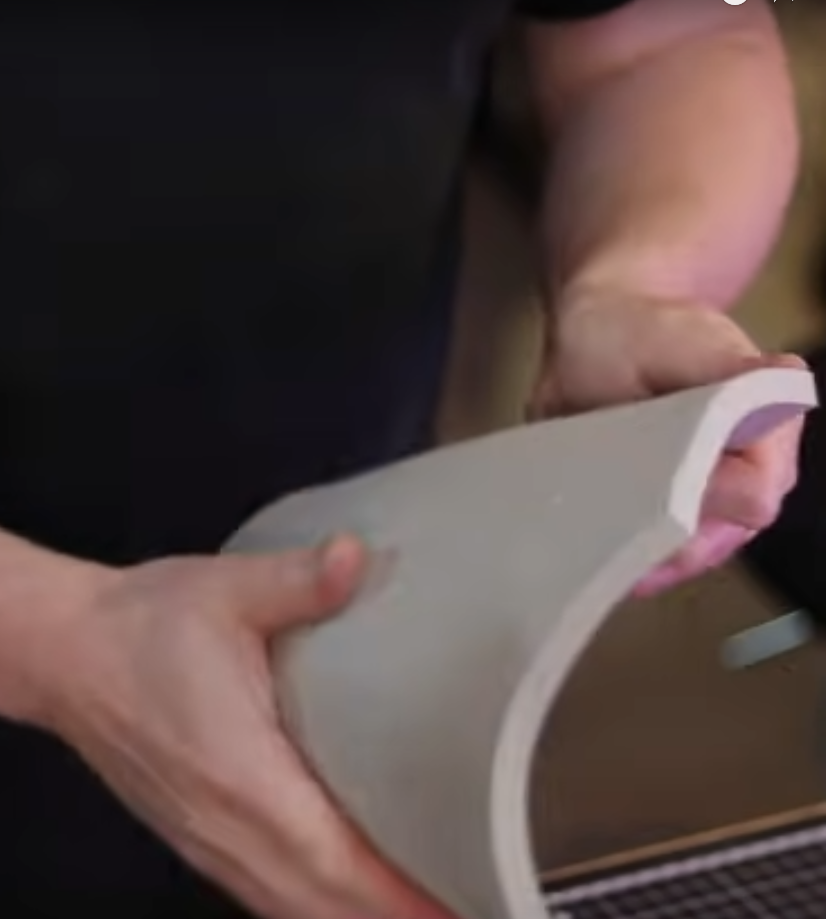
To give the part A a curved shape ,first heat the foam and press it with your hands.
The same thing must be done for part B as well .
To give this armor some volume we suggest not to line up part A and B ,
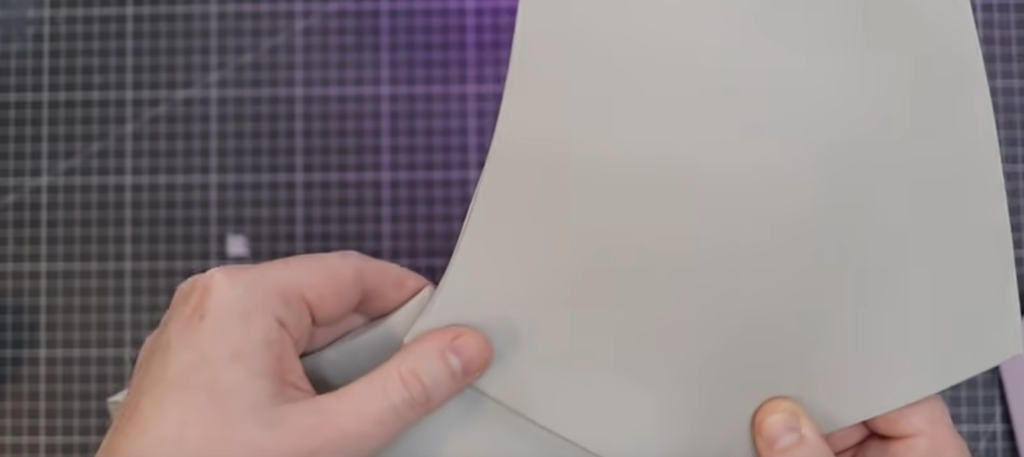
there’s actually an overlap that’s going to give this armor some
volume. To adhere the two part a pieces together use some weld wood contact
cement this adhesive is going to be applied to the central seam on either side and a hair dryer is used to speed up the dry time.
After the contact cement has become tacky these two pieces can be
firmly pressed together to create the chest armor.
To put the parts A and B together, mark the overlap with the pencil first and then put contact cement where you need it.
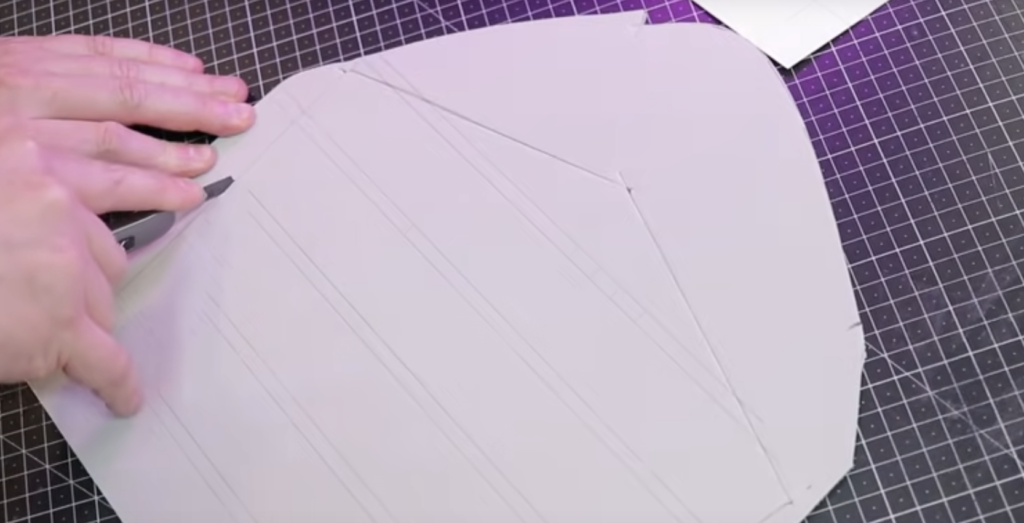
Before gluing the part C make shure to mark where all of the detail detail ribs are eventually going to line up , if you didn’t want to add the additional ribs to your armor you could make this piece out of 10 millimeter foam.
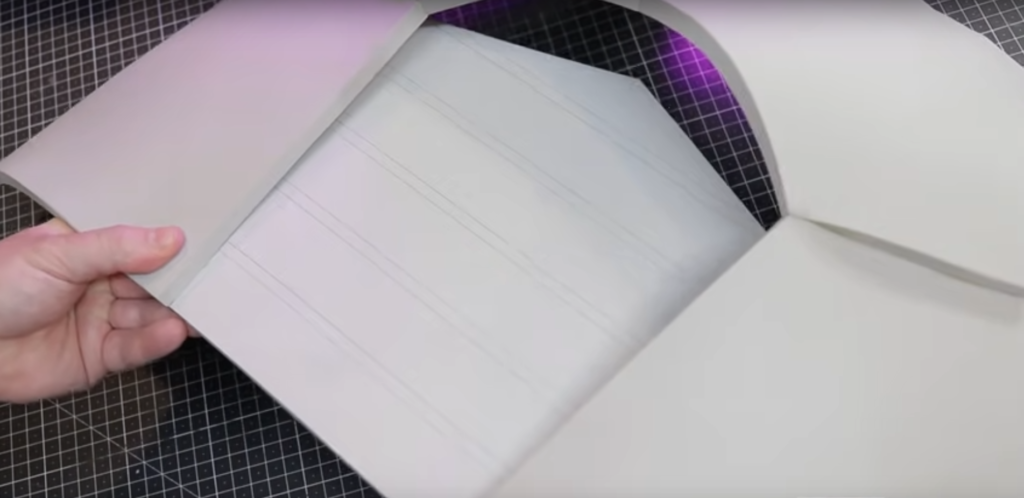
Mark where part B overlap on part C . Use bobsmith super glue to attach this two parts.
Now you can see how it’s starting to curve the front of the armor.
the top point to part c can now be lined up with the middle of the chest armor and marked with a pencil then use some contact cement and more bob smith super glue to lock it into place.
So if you satisfied with the curve and fit of the abdominal armor section ,you can start making and applying the ribs. These inch and a quarter strips are measured and cut out of some six millimeter foam.
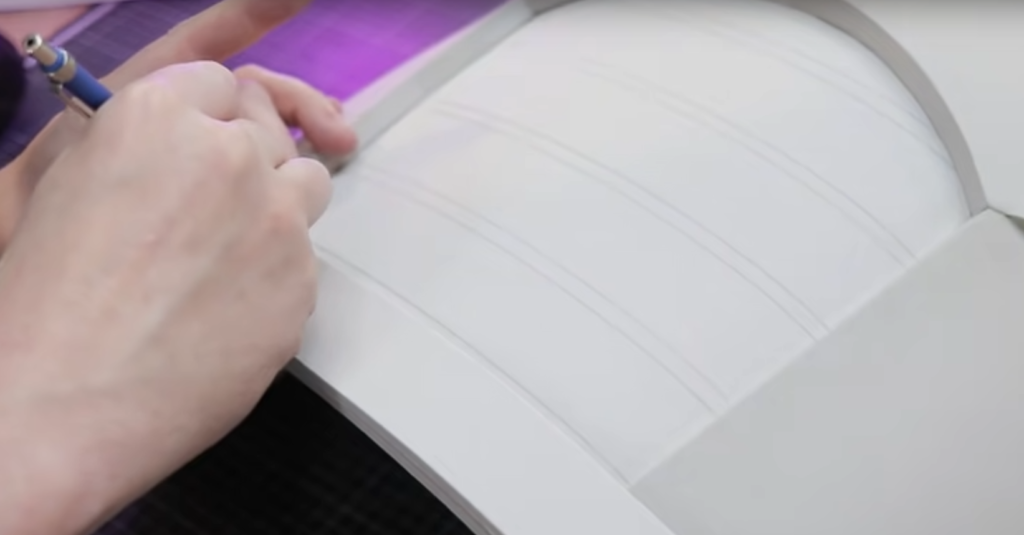
Because there is a slight angle from the bottom of the armor to the peck each one of these strips needs to be marked and cut out individually.
When you got to the very top where parts a and b connect,these angles will be a little bit tricky but these cuts don’t really need to be perfect because later we are going to be using some half round dowels to cover up all these seams .
If you have a smooth sanding drum ,round them up before attaching to the armor.
After the sanding had been completed ,you can use a heat gun to smooth out the surface.
To adhere the ribs to the armor i start by applying some contact cement to part c. Don’t go all the way to the edge ,when you apply contact cement on the ribs, to leave enough room for some super glue.
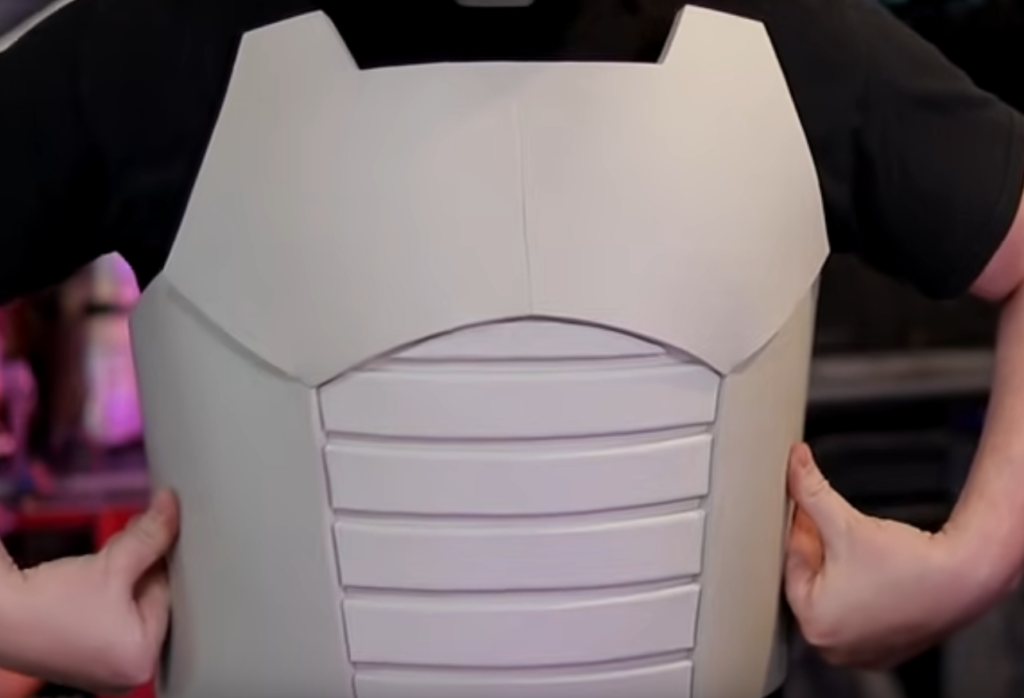
After all the ribs have been glued on you can see how the contour of the front of this armor is really starting to come together
Back part
Part d is going to overlap on top , as we did before.Also mark where part d is going to
adhere to it and just like the front this gives the opportunity to mark all the rib lines for the back again. If you weren’t going to do the detail ribs you could probably also make this piece out of 10 millimeter foam.
Use the same technique as the front part to curve part D before gluing to part E.
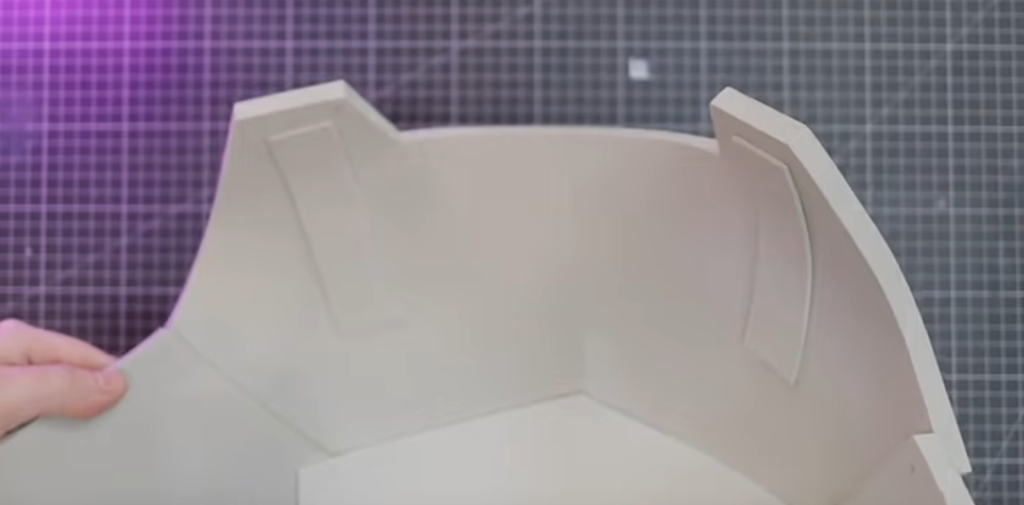
To add extra curve to your armor you can some strips of 2 mm foam ( so they don’t add volume ) .Bent the armor and then attach the foam to keep the curves as in the picture.
Now you can cut and add the strip to the back. Glue the strips just in the middle becouse you have to check how the armor conforms to your body.
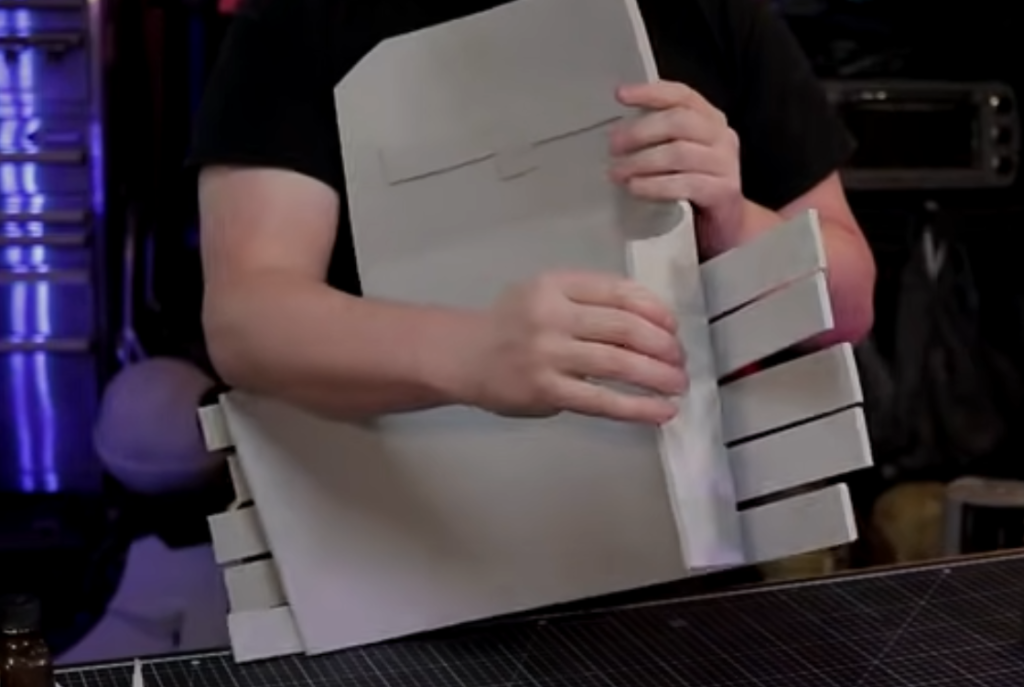
The strip that’s at the very top right under part d can be a little bit tricky but just take your part d template and trace it onto there for a better fit again it doesn’t have to be perfect because the seam is going to be covered up with a half round dowel.
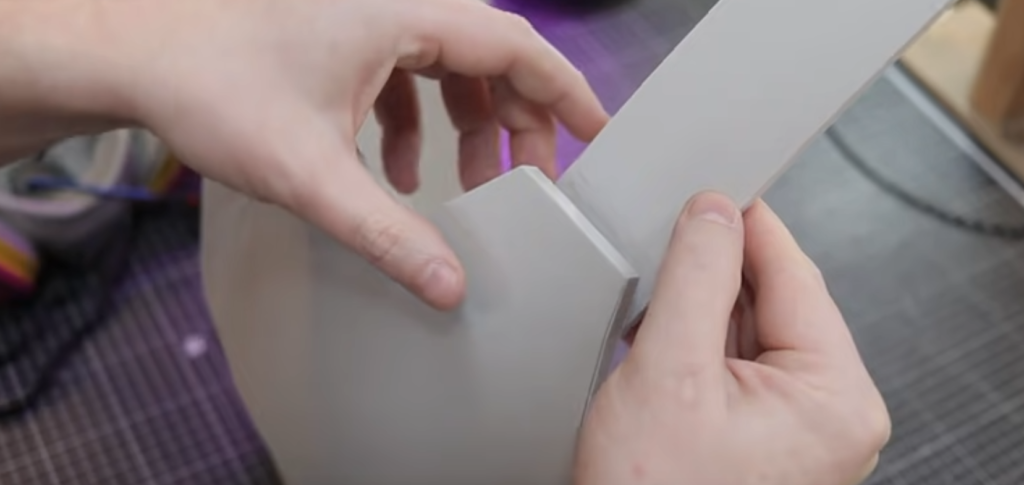
Next you are going to cut some strips of 6 mm foam. these are going to attach the front armor to the back and most probably you need to modify them so don’t glue both sides.
This step need a help of friend so just call some to give a hand. First thing that to do is to take your back piece put it on the back and see exactly where these strips are going to glue in on the back side.
After that you’re going to figure out what your side seam is and you want that to line up pretty much with the middle of your armpit which is why the ribs have not been glued down yet.
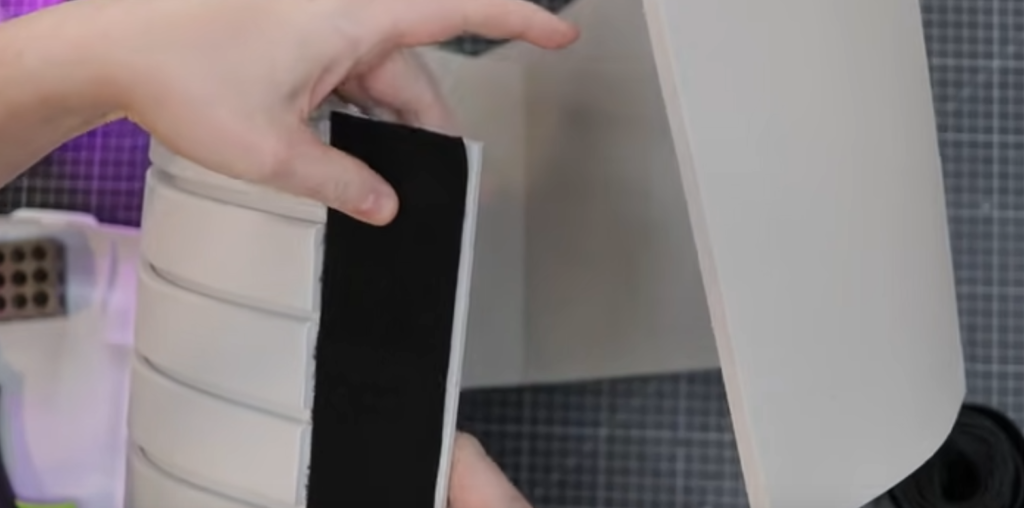
Once you figure that out you are going to actually cut these strips back about four inches , to leave room for velcro ,so you can get in and out of it. The other part of velco you must glue to the chest piece.
Recap : One side of the armor will be glued and the other has velcro.
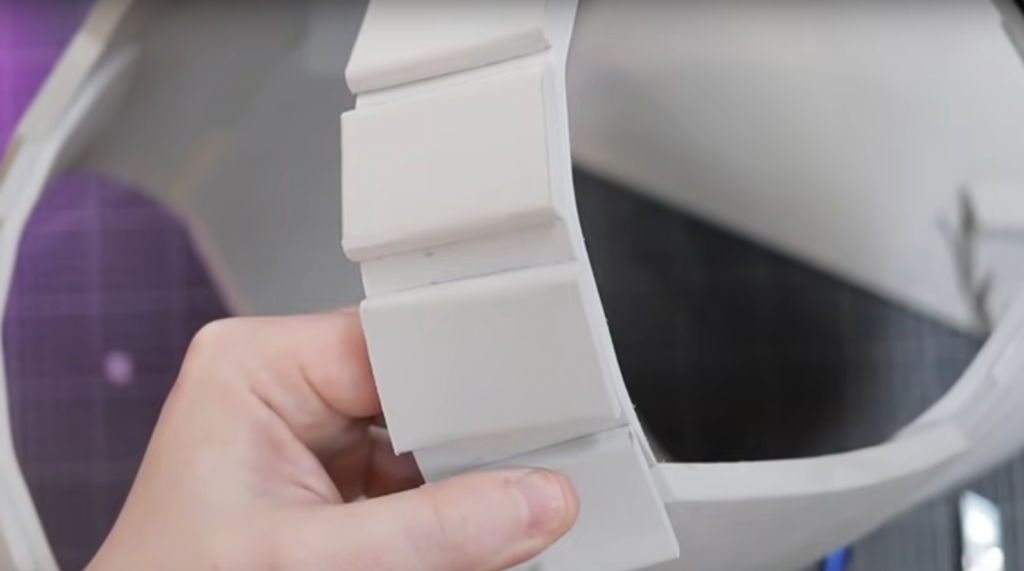
Now you can cut a few more strips of six millimeter foam these are going to be cut into segments and used for the straps at the top just like the ribs.
If you find a little bit of inconsistency of these strips lining up with the strap ,go ahead and take the rotary tool and smooth out the edge.
Finishing touches
Now it’s time to apply some half round dowels these are going to be used all around the outside of the different armor segments and for this particular build i figure you’re going to need 2 packs of 15 millimeter and a pack of 20 millimeter.
You can start by applying the 20 millimeter hd foam half round dowel to the bottom . When you get to the central seam on the left side i go ahead and mark and cut the rest of.
After finished the bottom ,you can start by applying the 15 millimeter
half round dowel to the top of the chest and continue till you finish.
Painting
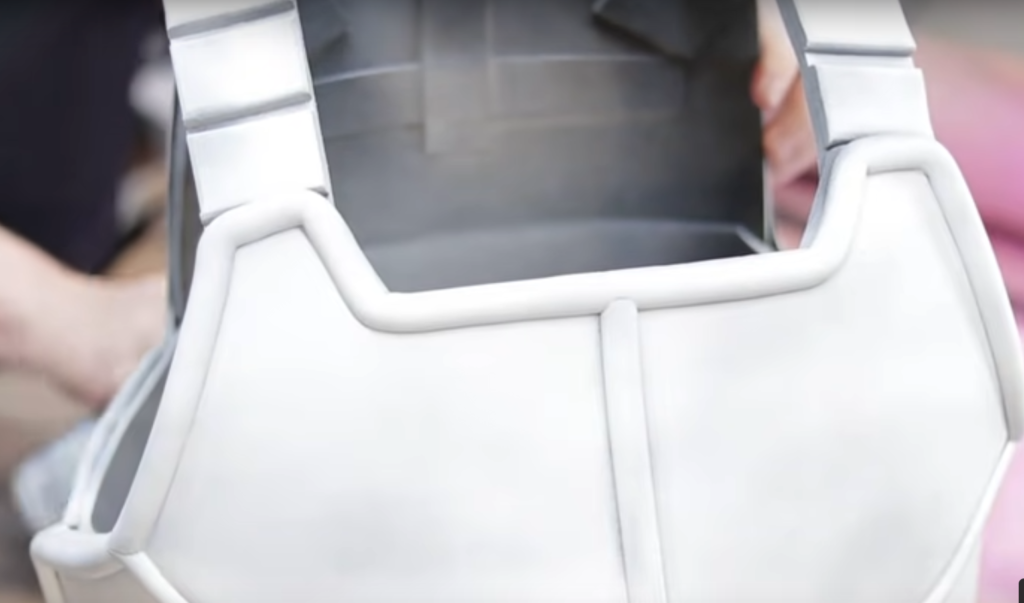
First apply two to three light coats of plasti dip over the entire surface. After the plastic dip had been allowed to cure i then added a light coat of valspar spray paint over the top of this.
For the shadows and you can use vallejo brand black surface primer and createx white opaque.Mix both of these paints into a cup with reducer,this will help the paint flow through the airbrush a little bit better.
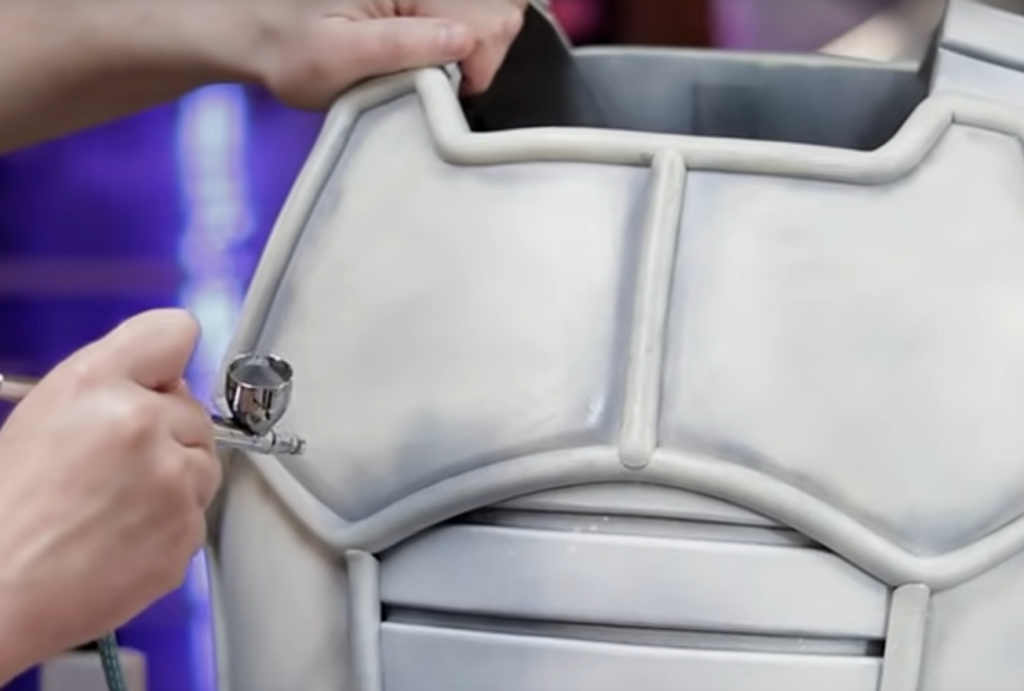
Outlining each individual armor segment with the airbrush.If you don’t have an airbrush
that’s no problem you can still in with your rattle can spray paint for this process.
Now it’s time to work on the gold sections of the armor.
Congratulation you finished you sayan armor.
How to Make Vegeta Cosplay Costume
To finish the full cosplay you need :
-Vegeta wig ( check on amazon )
-Zentai blue suit ( check on amazon )
-Sayan shoes ( check on amazon )
-Sayan armor ( that you just did )
