Iron Man is one of the most popular characters from Marvel Universe. He is also a very complex and iconic character, which makes him a perfect choice for cosplay events. Iron Man costume is often referred to as ‘the suit’, but in real life it’s actually not that simple.
There are many different versions of the suit and even more than 100 different models of Iron Man’s armor have been created by Tony Stark over the years, each with its own unique characteristics. With so many options available you may be wondering how to make an Iron Man’s suit or which patterns would be best for your build. Read on to find out!
Tips When Making Iron Man’s Suit
There are a few tips and tricks you should keep in mind when making a suit of your own. First of all, the materials you use will greatly affect the final look of your Iron Man suit. So buy good quality filament or resin . Sanding is necessary in almost any 3d print if you use the filament. The electronics will give the ultimate look but if you don’t want to put them ,will be ok too.
Don’t buy all materials at once, try to buy them as you go on the project.
Materials Needed For an Iron Man Mk 6 Suit
Material needed for the a full Iron Man suite :
-Iron man mk6 3d model ( Download file )
-(20-22) Filaments
-2-4 Part Adhesive Super Glue ( check on amazon )
-Led lights ( check on amazon )
-Battery pack holder ( check on amazon )
-LED Eyes ( check on amazon )
-Duralumen Paint
-Duplicolor Metalcast Smoke Paint ( check on amazon )
-Duplicolor Metalcast Red Paint x 3 ( check on amazon )
-Metallic Gold Paint x 3 ( check on amazon )
-Filler Primer x 6 ( check on amazon )
-Misc: AA Batteries, AAA Batteries
-Foam
-Insulated wires
-Heat shrink
-Wire strippers
-Soldering equipment
-Sandpaper (I recommend 40, 100, 220, and 320 grit)
-Heat gun
-Velcro,
-Hot glue gun, hot glue
And depending on how you want to fix the suit :
-10mm x 2mm Magnets
-Palm sander, backpack (I recommend one with a chest strap to keep the parts from sliding),
-Straps & Buckles ( check on amazon )
Other few materials maybe needed but you can buy them on the go.
First things first
You have to start with 3d printing all the parts .
The printing part is one of the most expensive and time consuming parts of the project. Make sure you print these parts with thick walls and a high infill as you will be sanding them in the next step.
Prepare the suit
Next step is sanding .When sanding, make sure you start the raw print with 40 and then 100 grit. Then, spray filler primer generously over the print and let it dry for a day. Sand the filler primer down by hand with 120 or 320 grit sandpaper. If you do not sand enough, layer lines from the print will show through the paint.
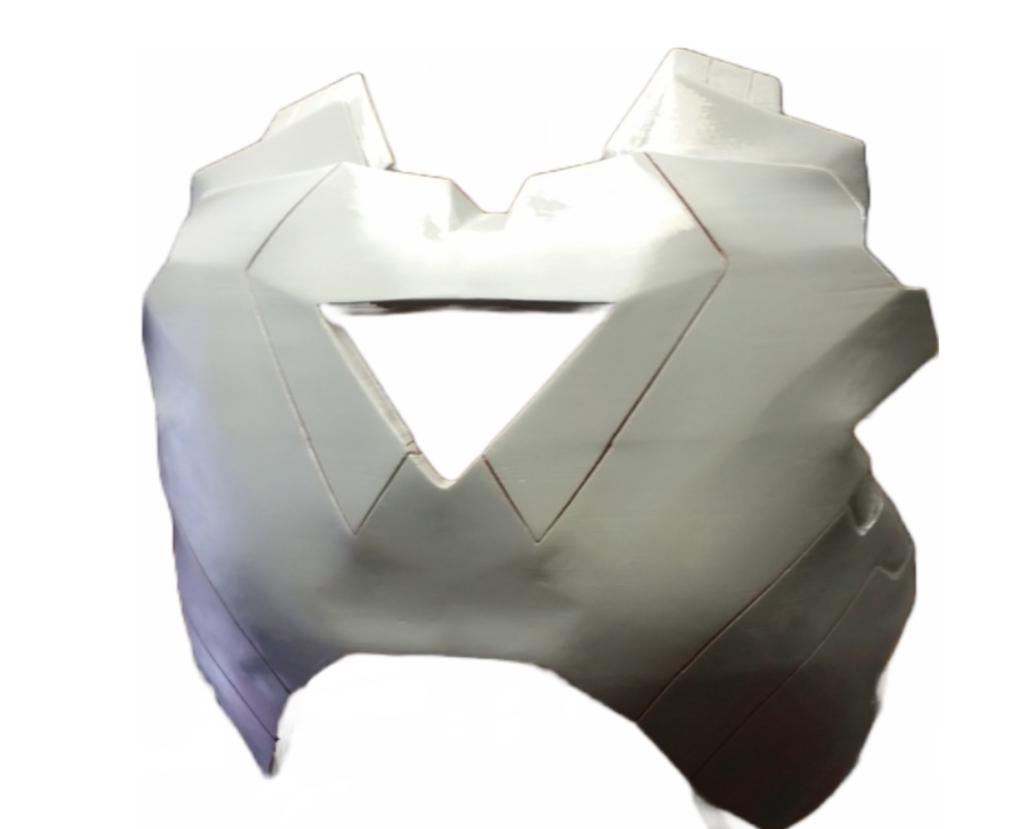
Creating the Iron Man Chestplate
After printing the chestpale put all the pieces together. Sand first , glue the pieces , sand again and them start painting and spraying.All the electronics go at the end so just think about those right now.
Iron Man Helmet and Hands
After printing all the parts be careful when you put all the pieces together. If happens that some parts doesn’t fit together just do a little of sanding.
For the hands if you want to keep them together you can glue them on a glove.
To make a the helmet movable you need to add electronics or you have to glue it in a certain position otherwise can fall off.
Helm electronics : 4x M4 Bush, MG995 Servo, any arduinoor other micro controller, at least 8x LED white, 4x M4x10, 4x M3x20, 4x M3 nut, acrylglass, 2x contactor , (or 1x, depending on the sketch you use)
Bottom Parts
The bottom parts are pretty easy to print and assemble. May be you will need some foam in parts that can touch and heart the skin ( use foam in all the parts that can touch the armor )
Shoes a lot of foam to make them suitable.
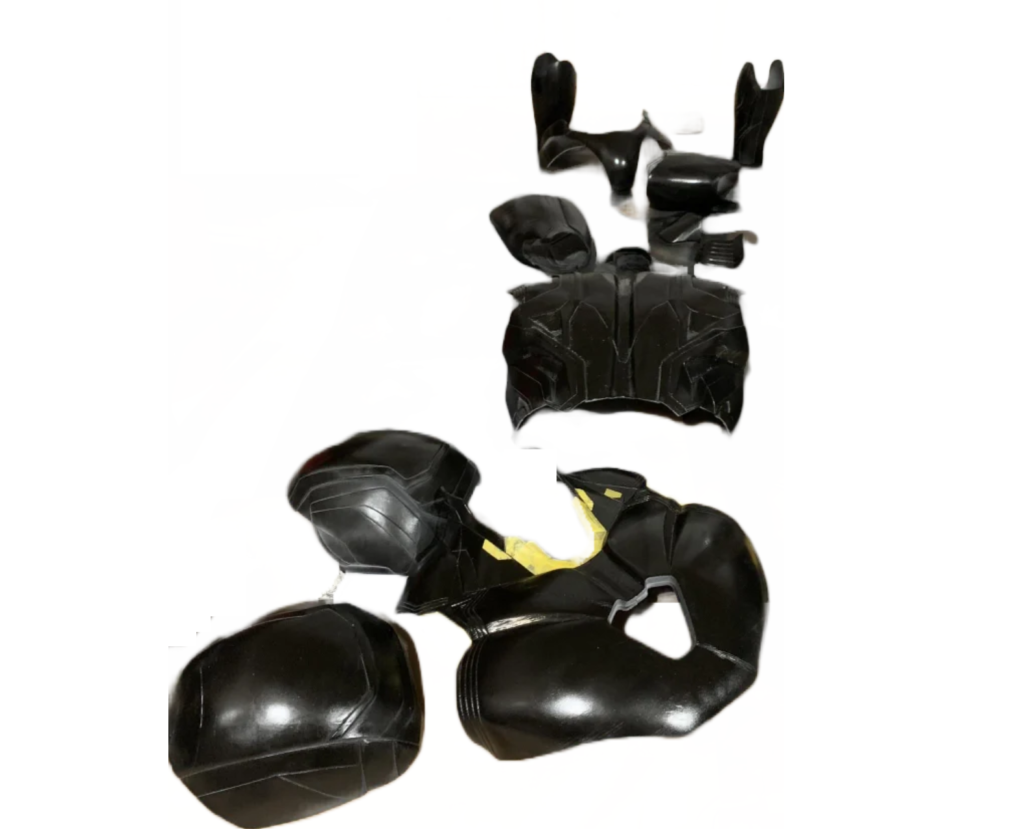
Coloring and Painting
Start off by painting a high gloss black primer over the filler primer. Tape off sections that will not be painted using frog tape, so that the black primer will not be peeled off. This is the second most time consuming part. Make sure that each tape piece is properly adhered before painting chrome over. The gloss black primer will allow the chrome paint to shine more brightly and give a better end product. Finally, spray the final coat, using the metalcast paint. For the gold parts, spray directly over the gloss black primer, not the chrome.

Lights and Electronics
For the helmet, use a heat gun to form the led eyes to the faceplate. Put hot glue around the eyes to hold them in place. For the armor lights, use a soldering iron to melt out the areas where you want lights. Then, use hot glue to attach each light to the plastic. Combine all of the positive wires and attach them to the positive on the battery pack. Combine all of the negatives and connect them to the negative on the power pack. Finally, put in AA batteries to test the lights.
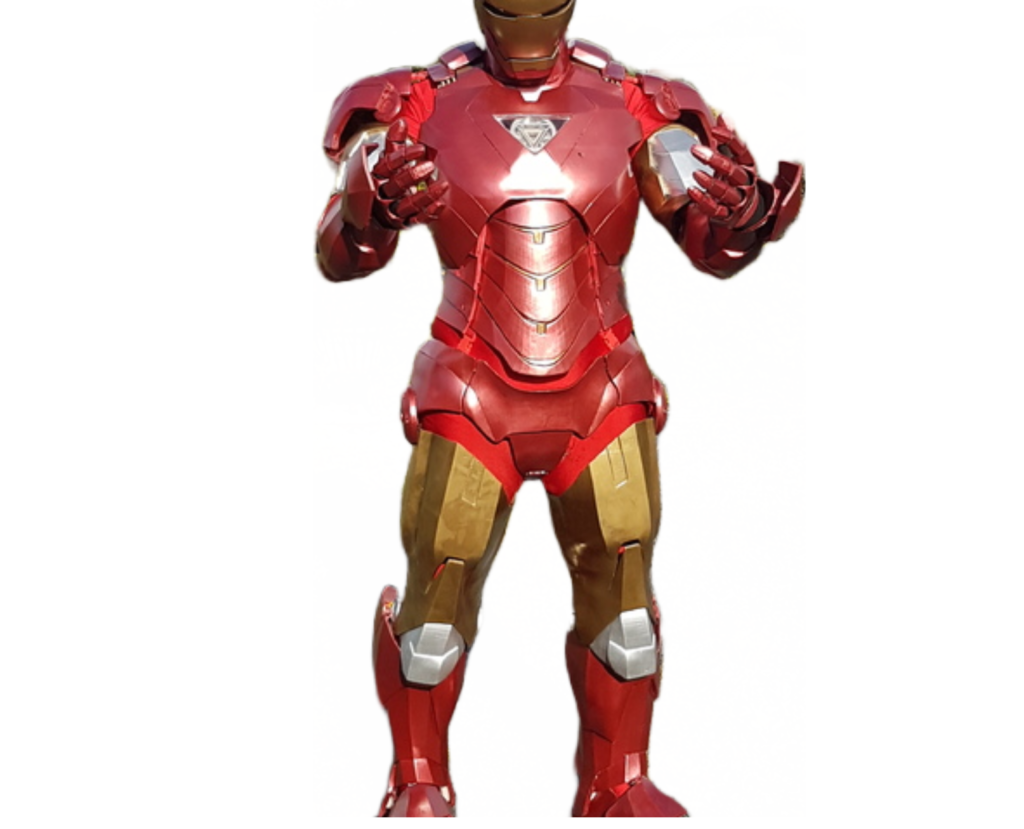
How Much Will Cost to Make a Full Iron Man Costume
To make a full iron man suite with 3d printer will cost over 1000$ .
The process is not easy and take take up to 2 months to finish. If you decide to make the costume don’t give up at the first difficulty , try to work on problem . Creating the suit is costly but it’s really worth. This project is not for everyone , only for true cosplayers.
If i did it you,can do it too. In this post you have all the items needed to create the costume.
Conclusion
Creating an Iron Man costume is not only an exciting challenge, but it’s also a great way to show off your skills. If Tony stark create the suit in a cave , you can do it from home.